
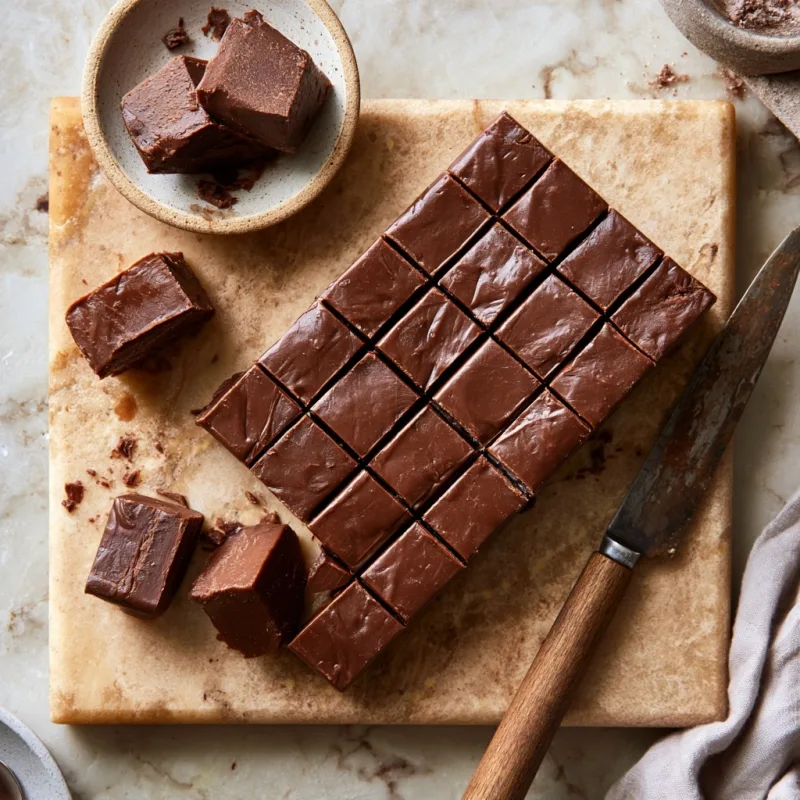
Homemade fudge with condensed milk is one of those recipes that feels like a cheat code, two ingredients, no thermometer, no candy-making anxiety. The problem most people run into is that their fudge either stays soft and won’t set, or it hardens into something closer to a brick than a treat. The good news is that when you follow the method, you get fudge that’s smooth, sliceable, and ready to share in under three hours.
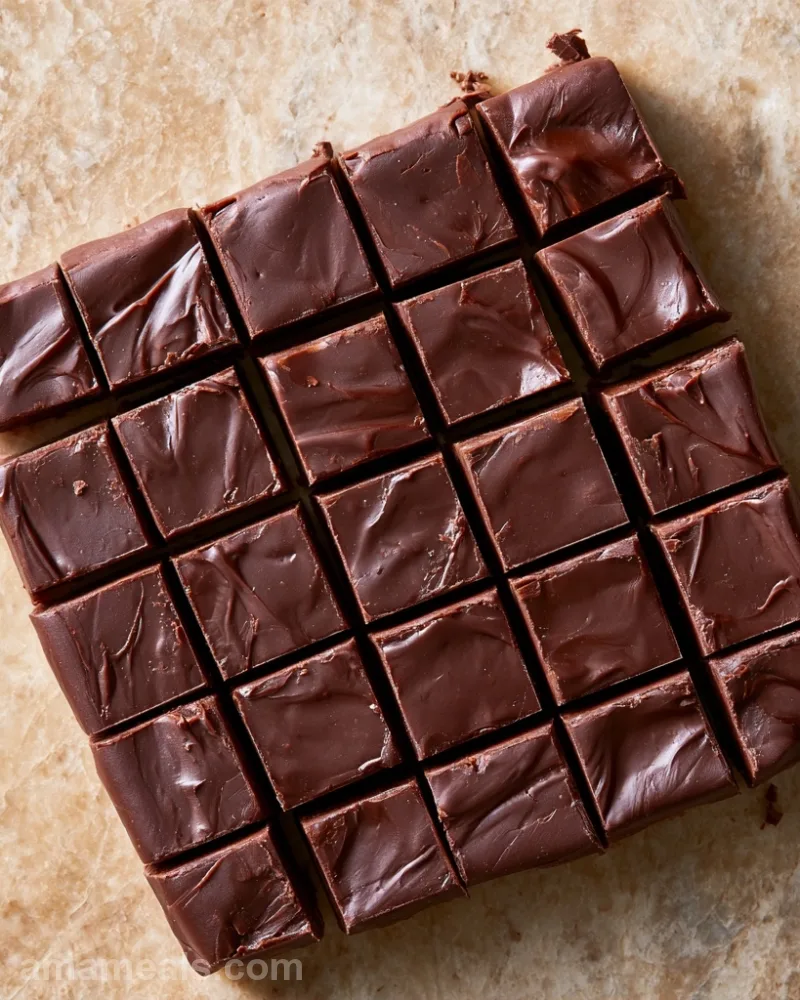
Why You Will Love This Recipe
- Silky texture: Condensed milk and chocolate melt together into a fudge that’s dense but not grainy, with no crystallization or grittiness.
- Rich chocolate flavor: Fourteen ounces of semisweet chocolate means real cocoa taste, not a thin candy shell.
- Fifteen-minute hands-on time: You spend maybe ten minutes melting and pouring; the fridge does the rest.
- No special equipment: A microwave or a bowl over simmering water, a knife, and a pan, that’s all you need.
Ingredients You Will Need
This recipe is built on simplicity, and every ingredient earns its place.
- Sweetened condensed milk (14 ounces / 397 g): This is the binder and sweetener rolled into one. It keeps the fudge smooth and prevents it from seizing. Don’t skip it or swap it for evaporated milk; the sugar content is what makes this work.
- Semisweet chocolate (14 ounces / 397 g): Use chocolate chips, chopped bars, or wafers, whatever melts easily. Semisweet gives you a balanced sweetness; dark chocolate will taste less sweet, milk chocolate more so. Chop larger pieces into smaller ones so they melt evenly.
How to Make Homemade Fudge with Condensed Milk Step by Step
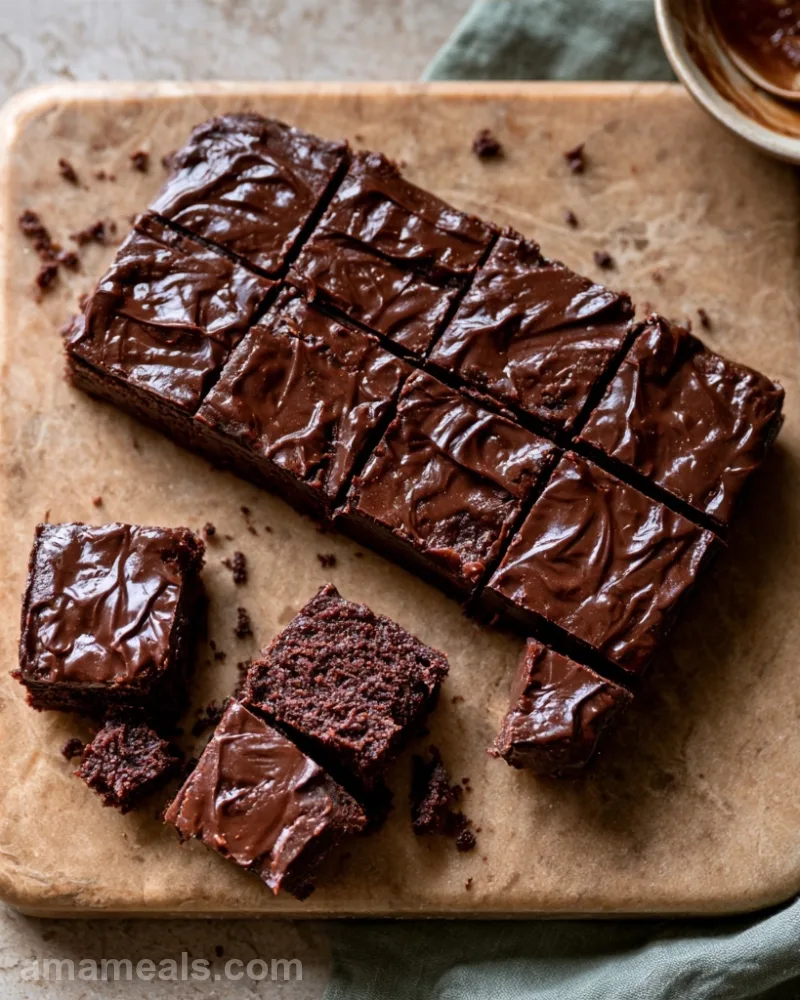
This recipe moves through three clear stages: lining your pan, melting the mixture, and setting it in the fridge before slicing.
Prepare the Pan
- Line an 8-inch square pan with two strips of parchment paper, positioning them so they cover the bottom and hang over two opposite sides.
- This overhang acts as handles to lift the whole fudge block out later, which is much easier than trying to pry it out with a knife.
- If you prefer, you can butter or spray the pan instead, but parchment is faster and cleaner.
Melt the Chocolate and Condensed Milk
- Pour the sweetened condensed milk and chocolate into a medium microwave-safe bowl.
- If using a microwave, heat in 30-second bursts, stirring well between each one, until the chocolate is fully melted and the mixture is smooth.
- If using the stovetop, set the bowl over a saucepan of simmering water on low heat, making sure the bottom of the bowl doesn’t touch the water.
- Stir with a spatula until everything melts together into one glossy mixture.
- Stir once more to make sure the condensed milk and chocolate are fully combined; any streaks of unmixed condensed milk will create a grainy texture.
Pour and Chill
- Pour the fudge mixture into the prepared pan and spread it level with a spatula.
- Tap the pan gently on the counter a few times to release any air bubbles and flatten the top.
- Place the pan in the refrigerator until the fudge is firm to the touch, about 2 hours (this can range from 90 minutes to 3 hours depending on your fridge temperature and the thickness of your pour).
- Run a thin-bladed knife around all four edges to loosen the fudge from the pan.
- Lift the whole block out using the parchment paper handles and transfer it to a cutting board.
- Using a sharp kitchen knife, slice the fudge into 1-inch pieces, wiping the blade clean between cuts for neat edges.
My Best Tips and Variations
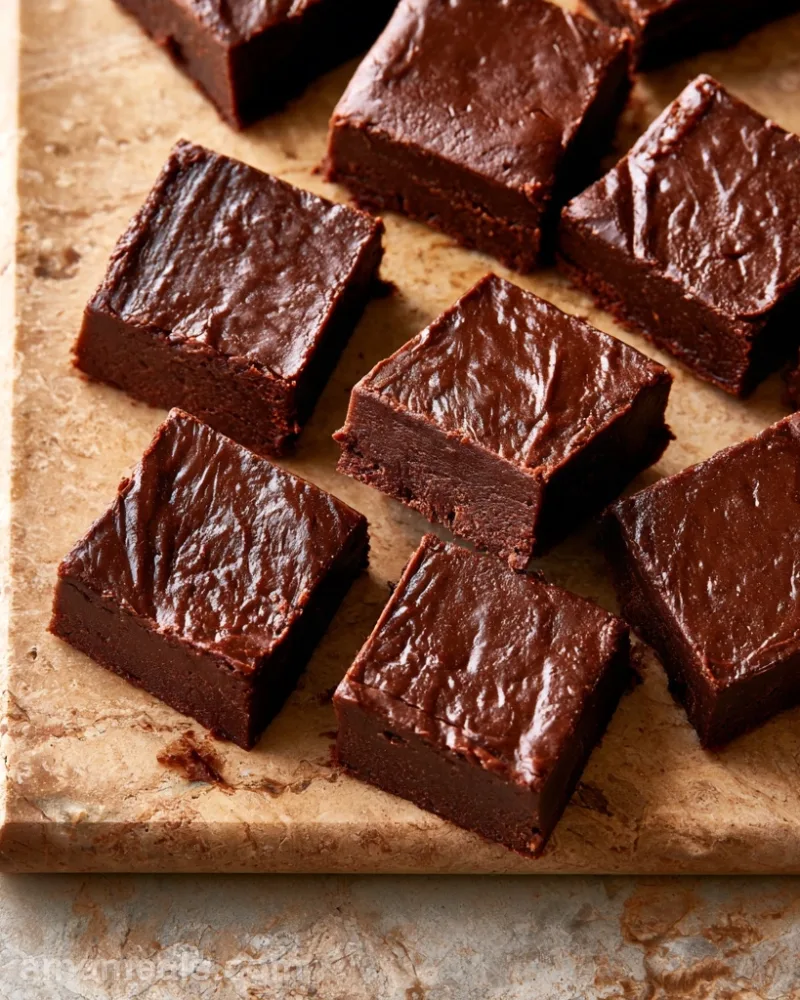
- Microwave vs. stovetop: The microwave is faster and easier for most home cooks. The stovetop method (double boiler) is gentler on the chocolate if you’re worried about overheating, but both work equally well if you pay attention and stir often.
- Chocolate choice matters: Quality chocolate melts smoother and tastes better. Avoid chocolate chips with added wax or stabilizers if you can; pure chocolate or chocolate wafers give you a cleaner result. If you only have chips, they’ll still work, just stir a bit longer.
- Chill time varies: A very cold fridge might set the fudge in 90 minutes; a warmer one might need 3 hours. You’ll know it’s ready when it feels firm but not rock-hard when you press it gently with your finger.
- Add-ins are optional: Once the mixture is melted and smooth, you can fold in chopped nuts, sea salt, or a teaspoon of vanilla extract before pouring. Keep add-ins to a quarter cup so the fudge still sets properly.
How to Serve and Store
- Serve at room temperature or chilled: Fudge tastes best when it’s cool but not ice-cold. If it’s been in the fridge for hours, let it sit on the counter for 10 minutes before eating so it softens just enough to melt on your tongue.
- Store in an airtight container: Layer the pieces between parchment paper and keep them in a sealed box at room temperature for up to two weeks, or in the fridge for up to a month. Fudge doesn’t dry out like cookies do, but it will absorb odors from the fridge, so a good seal matters.
- Freeze for longer keeping: Wrapped well in plastic wrap and then foil, fudge freezes beautifully for up to three months. Thaw it in the container at room temperature for about an hour before unwrapping.
FAQs
Can I use dark chocolate instead of semisweet?
Yes. Dark chocolate will make the fudge less sweet and more cocoa-forward. Use the same weight (14 ounces / 397 g) and follow the method exactly, the condensed milk will still balance the bitterness.
How do I know when the fudge is set enough to slice?
Press the top gently with your finger. It should feel firm and hold the indent for a moment, then spring back slightly. If it’s still soft or sticky, it needs more time in the fridge.
Can I make this ahead?
Absolutely. Make it up to two weeks ahead and store it in an airtight container at room temperature. It’s a great make-ahead gift or party treat.
Why is my fudge grainy or separated?
This usually means the chocolate and condensed milk weren’t fully mixed together. Stir longer and more thoroughly after melting. If you’re using the microwave, don’t skip the stirring between bursts, it helps the mixture meld evenly.
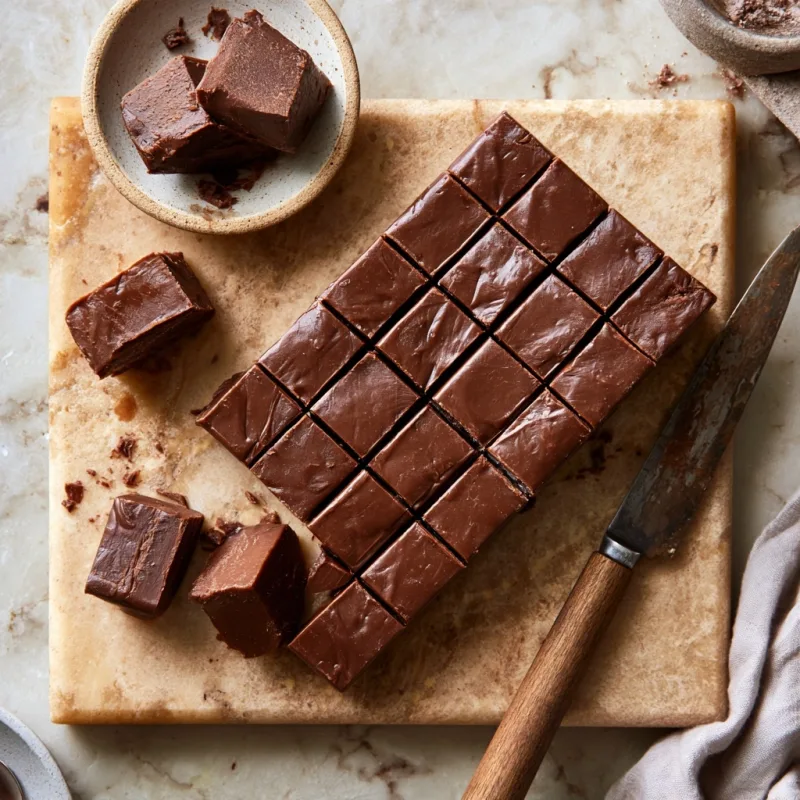
Homemade Fudge with Condensed Milk
Ingredients
Method
- Line an 8-inch square pan with two strips of parchment paper, leaving overhang on opposite sides.
- Combine condensed milk and chocolate in a microwave-safe bowl.
- Microwave in 30-second bursts, stirring between each, until smooth and fully melted.
- Pour the mixture into the prepared pan and spread evenly with a spatula.
- Tap the pan gently on the counter to release air bubbles.
- Refrigerate until firm, about 2 hours.
- Run a knife around the edges, lift the fudge out using the parchment, and slice into 1-inch pieces.
Notes
- Use pure chocolate or wafers for smoothest melting; chips with stabilizers may need extra stirring.
- Chill time varies from 90 minutes to 3 hours depending on fridge temperature.
- Fold in up to 1/4 cup of nuts, sea salt, or vanilla extract after melting for variation.
- Store in an airtight container at room temperature for up to 2 weeks or in the fridge for 1 month.
- Freeze wrapped in plastic and foil for up to 3 months; thaw at room temperature for 1 hour.
Final Thoughts
Homemade fudge with condensed milk proves that the simplest recipes often deliver the most reliable results. Make a batch for a bake sale, a gift box, or just because your family deserves something sweet. It’s the kind of treat that brings people to the kitchen table asking for one more piece.