
Most turkey pinwheel recipes fall apart the moment you slice them because the filling isn’t packed tight enough or the turkey breast is already dry before you roll it. The real problem happens during cooking, when people either rush the assembly or use meat that’s been sitting around too long. Follow this method and you’ll end up with pinwheels that hold their shape, stay moist inside, and pack perfectly into a lunchbox without falling apart by noon.
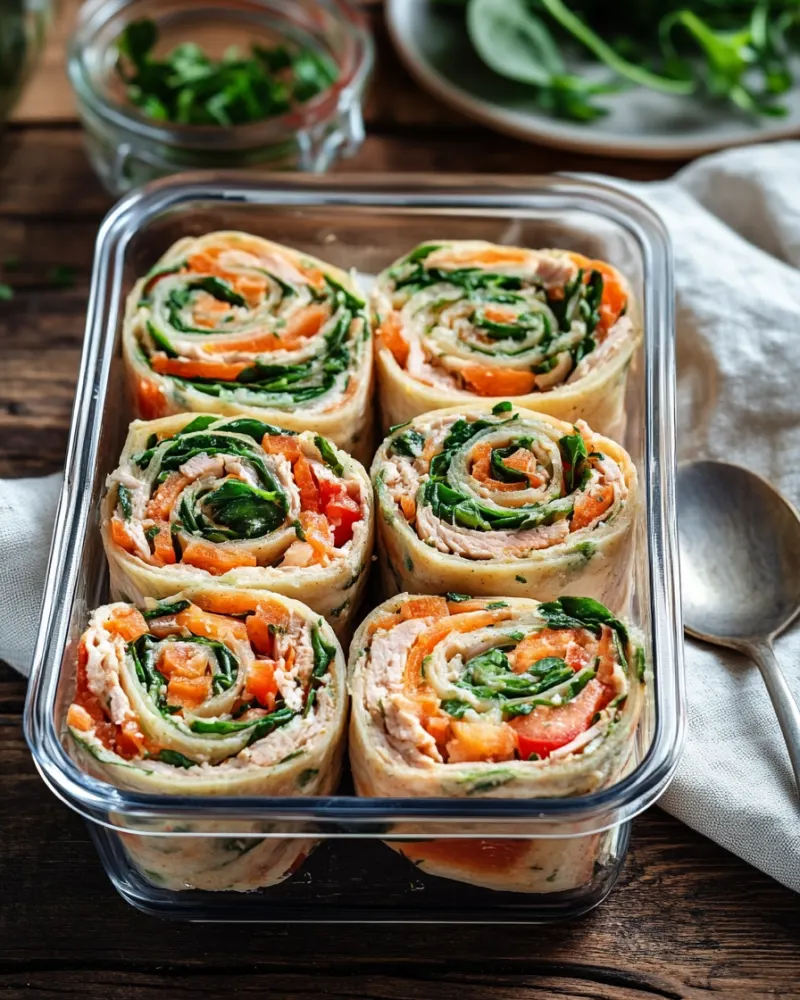
Why This Recipe Works
- Turkey stays juicy inside: Brining the turkey breast for just two hours before cooking locks in moisture, so the meat doesn’t dry out during the quick pan sear.
- Pinwheels hold their shape: Rolling tightly with the grain and chilling for at least one hour before slicing firms up the filling so each piece stays intact when you pack it.
- Filling sticks to every bite: Spreading a thin layer of cream cheese mixed with herbs creates the right amount of grip without making the roll soggy or heavy.
- Done in under 45 minutes total: Brining happens while you prep, cooking takes just 12 minutes, and chilling happens while you clean up, so you’re not waiting around.
Ingredient Breakdown
Here’s what you need to build these pinwheels from scratch.
- Turkey breast: One 1.5-pound boneless, skinless breast. Pound it flat to a quarter-inch thickness so it rolls evenly without tearing.
- Kosher salt: Two tablespoons for the brine. This is the only seasoning that actually penetrates the meat during the two-hour soak.
- Cream cheese: Four ounces, softened to room temperature. This acts as the binder that holds the filling to the turkey without adding grease.
- Fresh spinach: One cup packed, roughly chopped. Squeeze out excess moisture after chopping so the filling doesn’t get watery.
- Roasted red peppers: Half a cup, drained and sliced thin. These add sweetness and color without adding fat or calories.
- Fresh dill: Two tablespoons chopped. Dill cuts through the richness of the cream cheese and keeps the flavor clean.
- Garlic: Two cloves minced. Raw garlic stays sharp and punchy, which balances the mild turkey.
- Black pepper: Half a teaspoon. Grind it fresh right before mixing so you get the full bite.
- Olive oil: One tablespoon for the pan. This is just enough to get a light golden crust without making the turkey greasy.
How to Make Healthy Turkey Pinwheels Lunchbox Step by Step
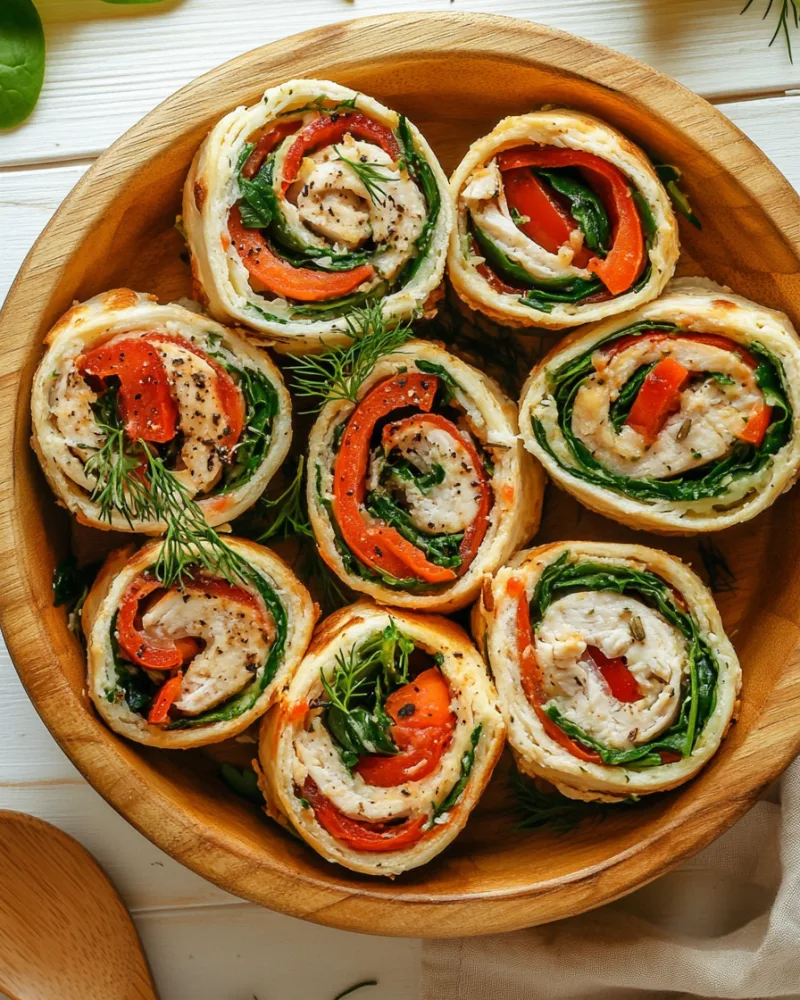
The process breaks into three clear phases: getting the turkey ready, cooking it fast, and chilling it firm.
Prep
This is where you set yourself up for success by getting the turkey flat and seasoned properly.
- Pound the turkey breast. Place it between two pieces of plastic wrap and use a meat mallet to tap it flat to about a quarter-inch thickness. Work from the center outward so it stays even and doesn’t tear.
- Brine for two hours. Dissolve two tablespoons of kosher salt in two cups of cold water, submerge the turkey, and refrigerate. This draws salt into the meat fibers so it stays moist during cooking.
- Mix the filling while brining. Combine softened cream cheese, chopped spinach, roasted red peppers, dill, minced garlic, and black pepper in a bowl. Stir until everything is evenly distributed with no lumps.
Cook
This section is about searing the turkey quickly and then rolling it while it’s still warm enough to be flexible.
- Remove turkey from brine and pat dry. Use paper towels to get the surface completely dry so it browns instead of steaming in the pan. This takes about one minute but makes a real difference in the crust.
- Sear in a hot skillet for six minutes per side. Heat olive oil in a large skillet over medium-high heat until it shimmers, then lay the turkey flat. Don’t move it for the first six minutes so it develops a golden crust, then flip and cook the other side for six minutes.
- Cool for five minutes on a cutting board. Let it rest so the outside firms up slightly and the inside stays warm enough to roll without cracking.
- Spread filling and roll tightly. Lay the turkey flat, spread the filling in an even layer leaving a half-inch border on all sides, then roll it up starting from the short end. Roll as tight as you can without tearing the meat.
Finish and Serve
This is where patience pays off because chilling firms everything up so the pinwheels slice clean.
- Wrap in plastic wrap and chill for one hour. This firms up the filling and makes the turkey easier to slice without the filling squishing out the sides.
- Slice into half-inch thick pinwheels. Use a sharp serrated knife and cut with a gentle sawing motion rather than pressing down hard. This keeps the filling from getting compressed.
- Pack into your lunchbox with a small container of extra dill or a squeeze of lemon. This keeps the flavors bright and gives you something fresh to add right before eating.
Tips and Variations
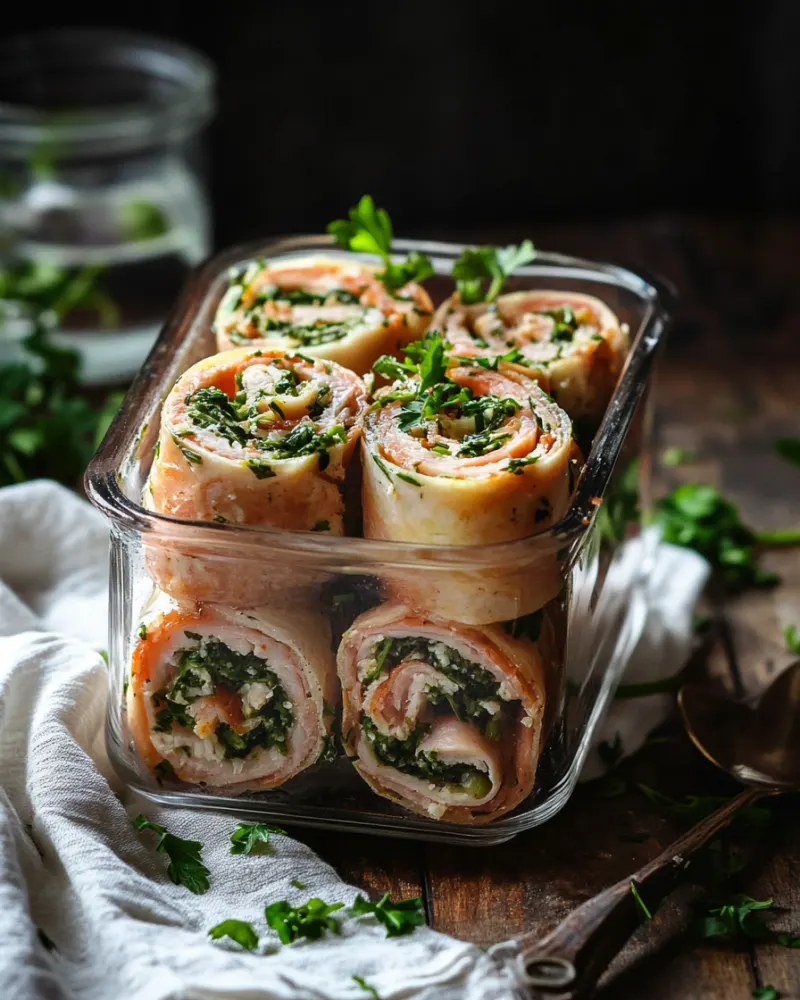
These adjustments let you customize the pinwheels based on what you have on hand or what you’re in the mood for.
- Swap the spinach for arugula or kale. Both have more bite than spinach and pair well with the cream cheese. Chop them fine and squeeze out moisture the same way.
- Add sun-dried tomatoes instead of roasted red peppers. They’re tangier and more concentrated, so use just a quarter cup and chop them small so they don’t poke through the turkey.
- Try this filling with chicken breast for a lighter option. Pound a boneless chicken breast flat, brine for one hour instead of two, and sear for four minutes per side. Check our guide on Healthy Chimichurri Chicken Thighs for more poultry techniques.
- Make a Mediterranean version with feta and olives. Mix two ounces of crumbled feta with the cream cheese, add a quarter cup of chopped kalamata olives, and use fresh oregano instead of dill.
Serving and Storage
Get the most out of these pinwheels by packing them right and knowing how long they’ll stay fresh.
- Pack them in a shallow container with parchment paper between layers. This keeps them from sticking together and makes them easy to grab one at a time without the whole stack shifting.
- Store in the refrigerator for up to four days. They taste best eaten cold or at room temperature, so pull them out of the fridge about ten minutes before eating to let the flavors warm up slightly.
- Freeze for up to two months by wrapping each pinwheel individually in plastic wrap. Thaw overnight in the refrigerator before eating, and they’ll taste almost as fresh as the day you made them.

Healthy Turkey Pinwheels Lunchbox
Ingredients
Equipment
Method
- Place the turkey breast between plastic wrap and pound evenly to 1/4-inch thickness.
- Dissolve kosher salt in cold water. Submerge turkey and refrigerate for 2 hours.
- Mix cream cheese, spinach, roasted red peppers, dill, garlic, and black pepper until evenly combined.
- Remove turkey from brine and pat completely dry with paper towels.
- Heat olive oil in a skillet over medium-high heat. Sear turkey for 6 minutes per side until golden and cooked through.
- Rest turkey for 5 minutes, then spread filling evenly over the surface, leaving a 1/2-inch border.
- Roll tightly from the short end, wrap in plastic wrap, and chill for 1 hour.
- Slice into 1/2-inch pinwheels with a serrated knife and pack into lunchboxes.
Notes
FAQs
Can I make these pinwheels without brining the turkey?
You can, but the turkey will be noticeably drier. Brining takes two hours and makes a real difference in how juicy the meat stays after cooking.
What if my turkey breast is thicker than a quarter-inch?
Pound it longer and more gently. If you try to rush it, the meat tears and won’t roll evenly.
Can I use store-bought rotisserie turkey instead?
Yes, shred it finely and mix it directly into the cream cheese filling, then skip the cooking step and chill for one hour before serving.
Do these pinwheels need to be served cold?
They’re best cold or at room temperature, but you can warm them gently in a 300-degree oven for five minutes if you prefer them warm.
Final Thoughts
These pinwheels pack into a lunchbox without falling apart, stay moist all day, and taste better than anything you’d grab from a deli counter. The first time you bite into one and the filling stays put while the turkey stays tender, you’ll understand why brining and chilling matter so much.