
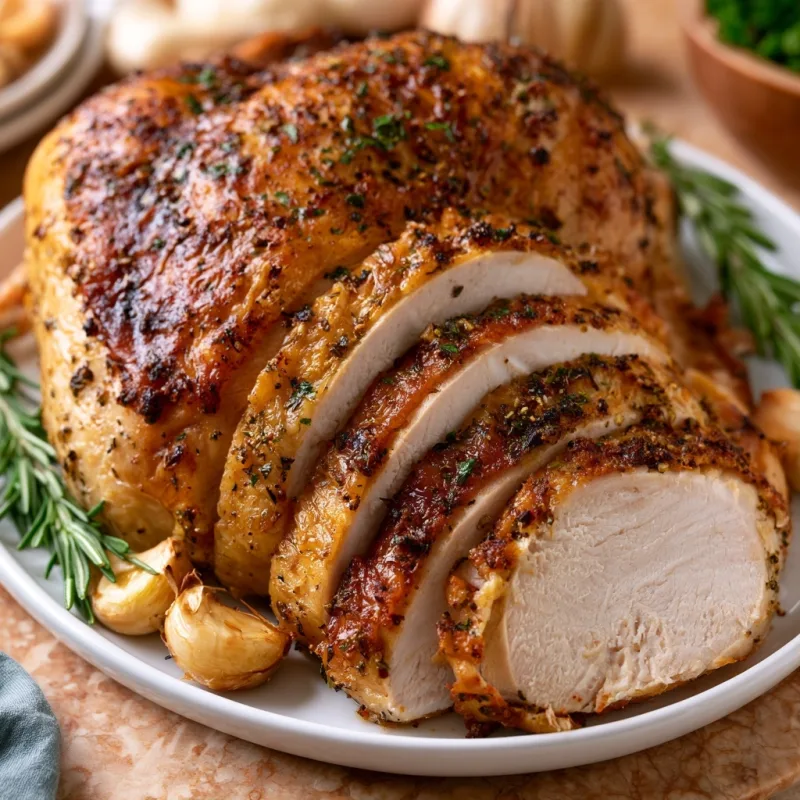
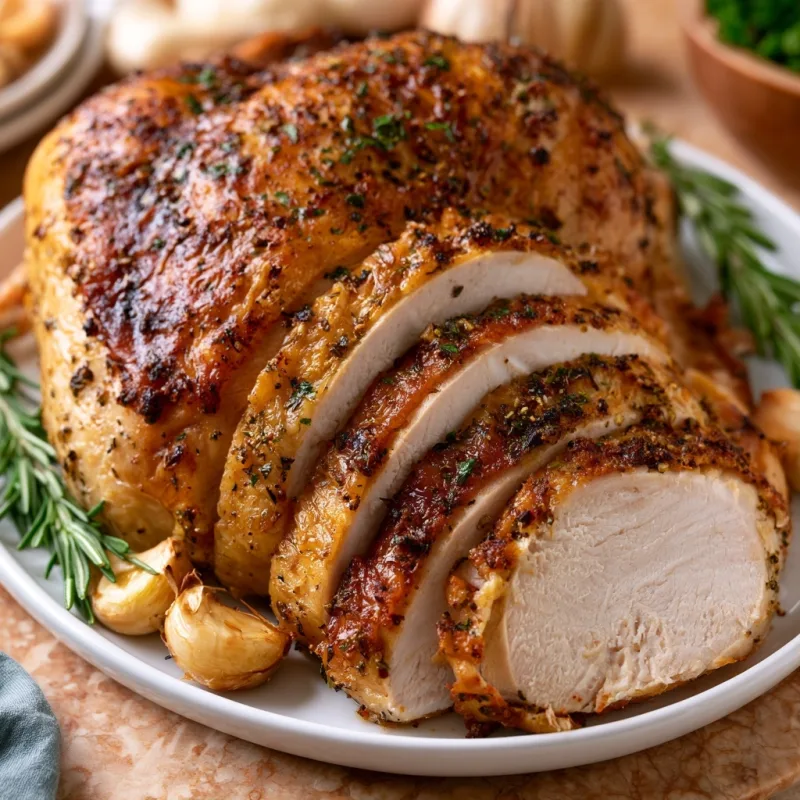
A bone-in turkey breast in the air fryer delivers crispy, golden skin and meat so tender it pulls from the bone without effort. Most home cooks either dry out the turkey or end up with flabby skin, the air fryer solves both problems at once. You get restaurant-quality results in under an hour, with almost no hands-on time. This is the kind of recipe that works for a weeknight dinner or a small holiday table, and it tastes like you spent all day in the kitchen.
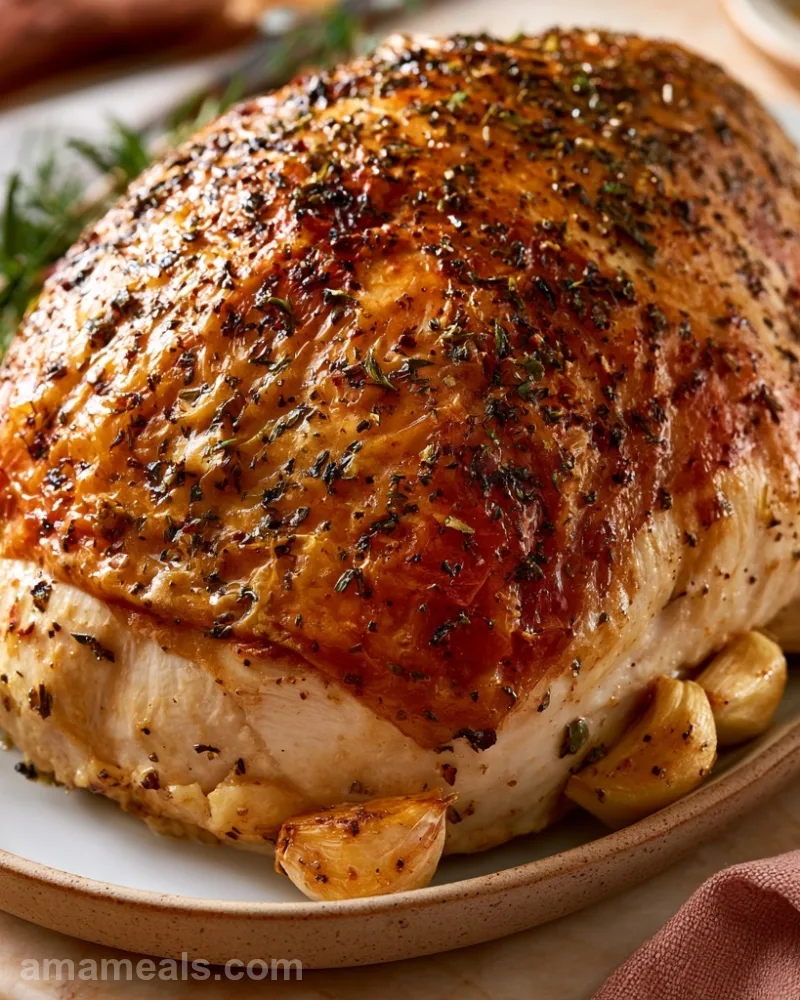
Why You Will Love This Recipe
- Crispy skin, juicy meat: The air fryer circulates heat so fast that the skin crisps while the inside stays moist, no basting, no tent of foil.
- Garlic and herbs infused: Tucking fresh rosemary, thyme, and garlic under the skin means every bite carries flavor, not just the surface.
- Done in 50 minutes: A 5-pound bone-in turkey breast cooks in under an hour, start to finish, faster than roasting and no preheating the whole oven.
- Simple enough for any cook: Three steps: pat dry, season, air fry. No special skills or fancy equipment needed beyond what you already have.
Ingredients You Will Need
Pat the turkey dry and rub it with oil and herbs, that’s the whole secret to why this works so well.
- Bone-in turkey breast (5 lb): The bone conducts heat evenly and keeps the meat from drying out. If yours is smaller or larger, adjust cooking time by 11, 13 minutes per pound. Boneless turkey breast will cook faster (10, 12 minutes per pound), so check the thermometer early.
- Olive oil (1½ tbsp / 22 ml): A thin coat helps the skin brown and crisp. Don’t skip this, it’s what gets you that golden exterior.
- Sea salt (½ tsp): Coarse salt seasons the meat and helps draw out moisture so the skin crisps. Table salt works too, but use a pinch less since it’s finer.
- Black pepper (½ tsp): Freshly cracked tastes better than pre-ground, but either one works. Add it after the oil so it sticks.
- Fresh rosemary (1 tbsp chopped): Dried rosemary is too strong here; use fresh if you can. If you only have dried, use 1 tsp and crumble it between your fingers first.
- Fresh thyme (1 tbsp chopped): Same rule as rosemary, fresh is gentler. Dried thyme can work at 1 tsp, but fresh is worth a trip to the produce section.
- Garlic (10 cloves, peeled and coarsely chopped): Tucking garlic under the skin flavors the meat as it cooks. Don’t mince it; leave the pieces chunky so they don’t burn.
How to Make Air Fryer Turkey Breast Step by Step
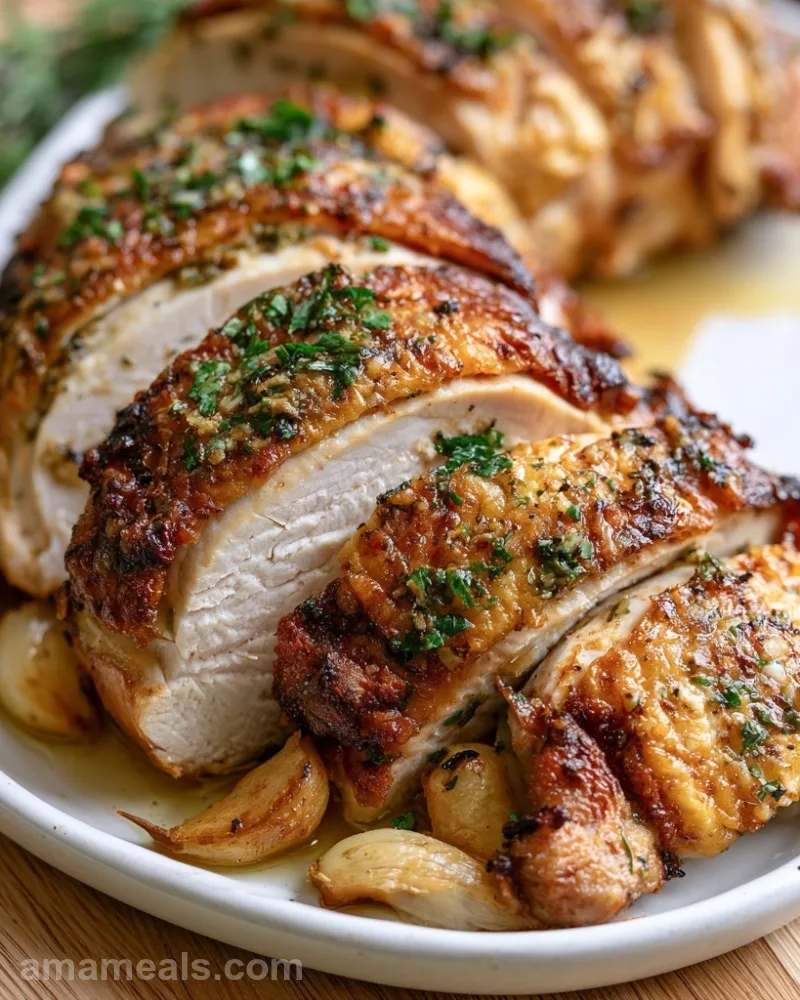
This recipe moves fast once the air fryer is hot, so read through the steps once before you start.
Preheat and Prep
- Set your air fryer to 350°F (177°C) and let it run for 5 minutes while you prepare the turkey.
- Pat the turkey breast completely dry with paper towels, paying special attention to the skin. Any moisture on the surface will steam instead of crisp.
- Rub the entire turkey breast with olive oil, coating both the skin side and the underside evenly.
- Sprinkle sea salt, black pepper, rosemary, and thyme all over the turkey, front and back.
Season Under the Skin
- Gently lift the skin on top of the turkey breast and tuck the chopped garlic pieces underneath, spreading them across the meat so they cook evenly and flavor the whole breast.
- Scatter any remaining garlic on top of the skin as well, it will brown and add a sweet, roasted note.
Air Fry
- Place the turkey breast in the air fryer basket skin side down. This position lets the heat circulate under the skin first, starting the crisping process.
- Air fry for 25, 30 minutes, then flip the turkey so the skin side faces up. This ensures even browning and cooking on both sides.
- Continue air frying for another 25, 30 minutes (total time 50, 60 minutes for a 5-pound bone-in breast). The skin should turn deep golden brown and feel crispy when you touch it.
- Check the internal temperature in the thickest part of the meat (not touching bone) with a probe thermometer. It should read 165°F (74°C). If it’s not there yet, air fry for another 5 minutes and check again.
Rest and Serve
Once the turkey reaches 165°F (74°C), remove it from the air fryer and let it rest on a cutting board for 5 minutes. This allows the juices to settle back into the meat, so each slice stays moist instead of running onto the plate.
My Best Tips and Variations
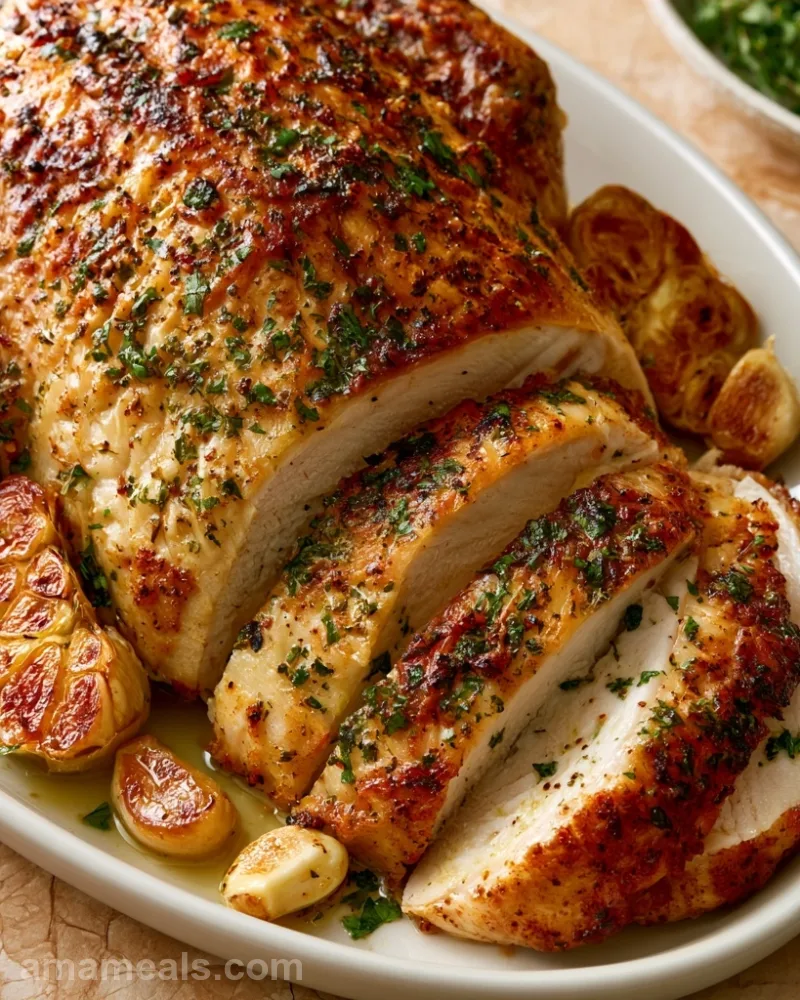
- Use a probe thermometer, not guesswork: The difference between 160°F and 165°F is the difference between slightly pink meat and fully cooked. A $15 instant-read thermometer takes the guesswork out and gives you confidence every time.
- Don’t skip the drying step: Wet skin will never crisp, no matter how hot the air fryer gets. Paper towels are your best friend here.
- Swap the herbs to match what you have: Sage, oregano, or Italian seasoning all work in place of rosemary and thyme. Use the same total amount (2 tbsp fresh or 2 tsp dried) and adjust to taste.
- Make it lemon-forward: Add the zest of 1 lemon to the herb mixture and tuck 3, 4 thin lemon slices under the skin along with the garlic. The citrus brightens the meat and pairs beautifully with the herbs.
How to Serve and Store
- Slice and serve warm: Let the turkey rest 5 minutes, then slice against the grain (perpendicular to the long fibers of the meat). Serve with roasted vegetables, a simple salad, or mashed potatoes and gravy.
- Store leftovers in an airtight container: Cooked turkey keeps in the refrigerator for up to 4 days. Slice it cold for sandwiches, shred it for soups, or warm it gently in a 300°F (150°C) oven with a splash of broth so it doesn’t dry out.
- Freeze for later: Wrap cooled turkey tightly in plastic wrap, then foil, and freeze for up to 3 months. Thaw overnight in the refrigerator before reheating.
FAQs
Can I use boneless turkey breast instead?
Yes. Boneless turkey breast cooks faster, about 40, 48 minutes total. Check the internal temperature at 40 minutes; it should reach 165°F (74°C). The skin won’t crisp the same way, but the meat will still be tender.
What if my turkey breast is smaller or larger than 5 pounds?
Calculate cooking time at 11, 13 minutes per pound for bone-in turkey. A 3-pound breast will need about 35, 40 minutes; a 7-pound breast will need 75, 90 minutes. Always rely on the thermometer, not the clock.
Can I make this ahead?
Cook the turkey, cool it completely, then refrigerate it in an airtight container for up to 4 days. Reheat gently in a 300°F (150°C) oven for 15, 20 minutes, covered with foil, until warmed through. Don’t microwave it, the meat will toughen.
Why is my skin not crispy?
The turkey wasn’t dry enough before cooking, or the air fryer wasn’t fully preheated. Always pat the turkey completely dry with paper towels, and always let the air fryer run for the full 5 minutes before adding the turkey.
Air Fryer Turkey Breast
Ingredients
Method
- Preheat air fryer to 350°F (177°C) for 5 minutes.
- Pat turkey breast completely dry with paper towels.
- Rub olive oil all over the turkey, both skin and underside.
- Sprinkle salt, pepper, rosemary, and thyme over the entire turkey.
- Lift the skin and tuck chopped garlic underneath, spreading evenly.
- Scatter any remaining garlic on top of the skin.
- Place turkey skin side down in the air fryer basket.
- Air fry for 25–30 minutes, then flip turkey skin side up.
- Continue air frying for another 25–30 minutes until skin is deep golden and crispy.
- Check internal temperature in thickest part; it should read 165°F (74°C).
- If not done, air fry in 5-minute increments and check again.
- Let turkey rest on a cutting board for 5 minutes before slicing.
Notes
- Use a probe thermometer to ensure the turkey reaches 165°F (74°C) in the thickest part.
- Pat the turkey completely dry before oiling—wet skin won’t crisp.
- Swap rosemary and thyme for sage, oregano, or Italian seasoning (2 tbsp fresh or 2 tsp dried).
- Add lemon zest and thin lemon slices under the skin for a citrusy twist.
- Store leftovers in an airtight container in the fridge for up to 4 days; reheat gently in a 300°F oven with broth.
Final Thoughts
This air fryer turkey breast proves that weeknight dinner doesn’t have to be complicated. Crispy skin, tender meat, and real herbs, all in less than an hour. Make this for a quiet Tuesday night with your family, or scale it up for a small gathering. Either way, you’ll have a table full of people asking for seconds.